 This is a good practical approach but does not take in to account the variations in the characteristics of individual printers. To achieve optimum results it is essential to generate a colour profile for each printer. Indeed, it is also necessary to create a profile for every paper to be used with a particular printer. For example, if a photographer wished to use a printer with a particular brand of glossy paper and a particular brand of matte paper, two profiles are required. Each profile can also be generated for 8-bit and 16-bit colour, so the number of permutations increases rapidly.
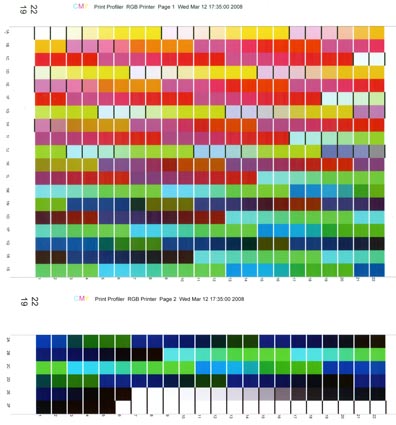
The profiling process is relatively simple given the custom-made equipment to do the job. However, good equipment can be quite expensive but is necessary to achieve reliable results. A standard grid of coloured squares, or patches, is printed using the particular printer and paper combination for which a profile is required. An example of a minimum set of colour patches can be seen in the image on the left. This set was printed on to two sheets of A4 paper, but a full set would occupy at least four or five sheets.
Most profiling software allows the user to choose how many colour patches to print, but a larger number normally produces a more accurate profile. Examples of such colour patches are shown in the image below. It is important to leave the patches to dry for a few hours because small colour changes may take place. The patches are then inserted into a scanning device and scanned, row by row, using a spectrophotometer. The colour measurements for each scanned colour patch are stored in digital form on the computer to which the spectrophotometer is connected - usually via a USB lead. Once all the patches have been scanned, the software processes the data and produces an International Color Consortium (ICC) profile for the particular printer and paper combination. It is usually possible to store the profile for use with 8-bit or 16-bit colour.


