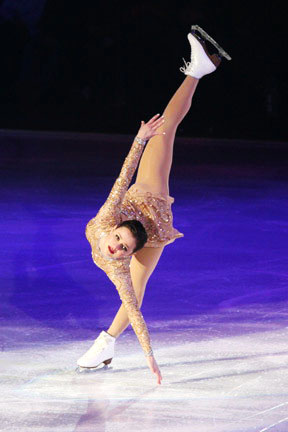
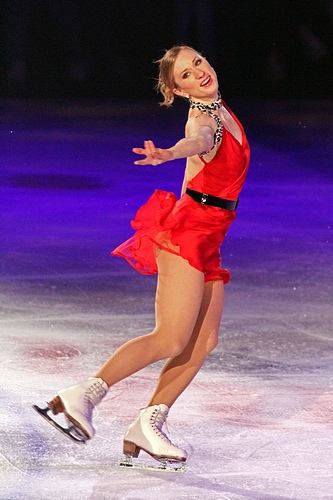
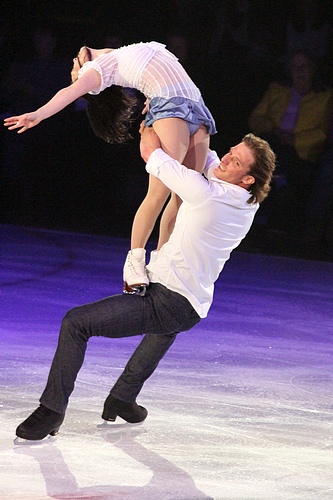
 Figure skating is a graceful sport and consequently beautiful to watch. Skaters move around the ice in elegant and sweeping ballet-like poses mixed with dramatic leaps and other equally energetic manoeuvres. A photographer is consequently faced with a number of immediate challenges, not least that imposed by relatively low levels of light. Indoor skating rinks are typically lit reasonably well with white lighting, at least for competitive and normal day-to-day events. During some exhibition events, coloured lights may be used.
A first consideration is whether a particular arena or event allows any photography - some do not. If photography is permitted, it may well be that the use of strobes is prohibited to prevent the skaters being momentarily blinded by flashes of light. Where photography is allowed, try to get a seat close to the ice at the front to obtain an unobstructed view. A seat such as this, usually located more or less at ice level, means that the advertising boards on the opposite side of the rink will usually form the background for shots. From a slightly more elevated seat it is possible to use the ice itself as a background.
Lighting is likely to be different in every venue, but a typical situations calls for a fast ISO rating - perhaps 400 - 1,000. This is determined by the intensity of the light, the maximum aperture of the lens and the need to freeze fast-moving action. Using a telephoto zoom lens, perhaps 80 - 200mm focal length, with a maximum aperture of f/2.8 or f/4, and a shutter speed in excess of 1/250 or 1/500sec, the problem of low light intensity soon becomes apparent.
 Exposure should be set for the subject, the ice skaters, rather than the brilliant white ice or the background. If possible, take a close-up reading from someone on the ice prior to the event and set exposures accordingly. Ice lit by numerous lights can be brilliant white, and a camera's automatic exposure system wants to render it as 18% grey! If using auto-exposure, set a compensation level of at least plus one stop - maybe two stops.
Figure skaters often perform their most elegant moves in fairly predictable locations on the ice. To get the best images it is necessary to anticipate the action and be prepared. The lens can be pre-focused on a particular spot or auto-focus can be used. Set the aperture to its maximum (wide open) setting and keep the shutter speed as high as possible if the action is to be frozen. Also remember to zoom in as close as possible to the skaters - fill the frame wherever possible. In some instances it may be possible to fill the frame with just a face - a great subject if the moment is correctly captured.
Successful figure skating photography has a lot to do with catching the skater at the decisive moment when he or she is at the peak of a jump or some other choreographed movement. This requires a little understanding of figure skating and a bit of anticipation. It also requires the photographer to set the camera to minimize the delay between releasing the shutter and the exposure being captured. Not only is there a human reaction time of at least 100 milliseconds to consider, but also a delay while an autofocus lens locks on to the subject. With some cameras, a further delay occurs internally before the exposure is made. Knowing yourself and your photographic equipment helps to achieve the desired result. Take lots of pictures because it is not unusual to miss the action and end up with a picture of the back of a skater's head! Delays are generally minimized by using manual focus and exposure.
 It is not always necessary to freeze fast-moving action. Wonderful fluid, dynamic shots can be obtained by using a lower shutter speed and oanning the camera to follow the movement of the skater. Once again it is necessary to understand what the skater is doing, and in which direction he or she will move. Set a shutter speed according to the circumstances, perhaps 1/25, 1/15, 1/8 or even 1/4 second, and keep the camera following the athlete as the shutter is released. Th result should be a reasonably sharp image with an attractively blurred background which emphasizes the speed of movement. Using a monopod helps to achieve a good panning motion.
All images by kind permission of David Carmichael at www.davecskatingphoto.com.


