 |
 |
|
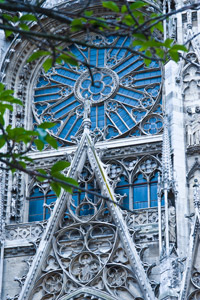
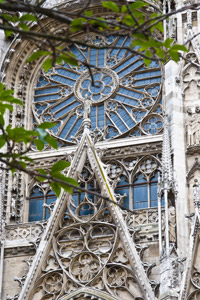
| White balance too low | White balance correct |
An appropriate white balance setting is very important when capturing panoramic images. It is best set manually so that it remains fixed at the appropriate setting throughout the set of images that will be used to create a panorama. "Auto" settings generally do not fix white balance so the setting may vary as the camera is rotated around the panorama. This may result in visible seams or joints where images meet.
Unfortunately, cameras are not as sophisticated as the human eye and brain combination and adjustments for colour that are made by the eye, without us even realizing, are not made by our cameras. This is essentially why our pictures may not appear to be the colour that we recall at the time the shot was made.
The white balance setting on a camera is usually found in a "shooting" menu or something similar. Almost every digital camera features such an adjustment. Obviously the exact details may vary with manufacturer and model, and should be specified in the camera's manual. Many cameras offer a range of simple-to-use white balance presets such as "blue sky", "cloudy", "overcast", "dull" etc but more sophisticated models allow the user to set to any particular white balance figure (degrees Kelvin). However, the whole process is very simple in principle and comes down to setting the adjustment so that the image looks the right colour on the camera's LCD.
It is also possible to set white balance by taking a photograph of a sheet of uniformly white or grey card illuminated by the same light that illuminates the panoramic scene. The card must of course fill the whole frame. Having taken a photograph the white balance should be appropriate for the panoramic scene.


