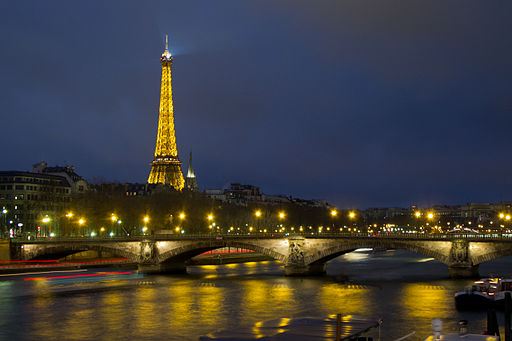
Low-light shots always need the support of a tripod. It is possible to find other ways of keeping a camera stable, but it is best to use a tripod. Low ISO settings, such as 100 or 200 are desirable to keep colour noise to a minimum, and the lower the ISO setting the longer the shutter can remain open without noise becoming a problem. Small apertures such as f/8, f/11 or f/16, are also normally required to achieve good contrast and adequate depth of field. All these pre-requisites add up to using a tripo and a remote release.
Low-light architectural photography is exactly what it says! It involves using low light - rather than the total darkness found in the middle of the night. The best period for work of this type occurs shortly after the sun sinks below the horizon. The so-called "blue hour" is ideal, although it should be noted that "blue hour" usually lasts for only 20 or 30 minutes!. Use the blue-hour calculator on this site to obtain the precise times for a particular location and date. At this time of day the colour of the sky changes rapidly and with luck there may be some interesting colours as low-angle sunlight is scattered by dust in the atmosphere. The sky changes through a range on darkening blues before turning black, and city lights turn on to add further colour and interest. The available light comes mainly from reflected sources and tends to be low in intensity, but with careful choice of exposure direct light from distant street lights can be accommodated. White balance should not be too much of a concern with this type of shot, so use a normal daylight setting and allow the various artificial lights to add their respective colours. Take plenty of pictures at this time because the situation changes rapidly as night descends.
As with any photography, there is no "correct" exposure. To some extent exposure is a matter of taste - it depends upon what you are trying to achieve. Nevertheless there will normally be a small range of acceptable exposure setting within which a photographer will work. Experience will demonstrate this range of values and then it is worth carrying the settings in the mind. Because light levels change very rapidly it is worth knowing instantly that your preset values are about right. Small variations can then be tried fairly rapidly. At ISO 100 or 200, start with 5 or 6 seconds at f/8 and then adjust according to the results obtained.


