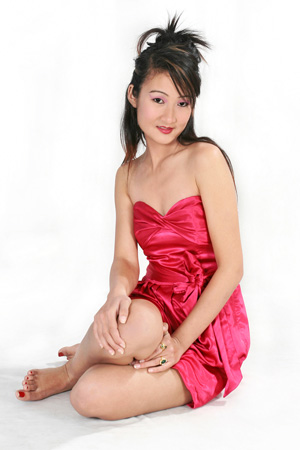
Every model is an unique human being with slightly different facial characteristics. The challenge for the photographer is to create lighting that suits the individual model. An experienced eye is required to recognize strengths and weakness, good features and less-than-perfect features. The lighting should then be arranged to highlight the strengths and mask the weaknesses. This is easier to say than to do!
There is no correct way to set up lighting for a beauty session. Different objectives, people and situations require different approaches. However lighting is the key element of the shoot. Unless it is right the pictures will not work. When the lighting is right, other aspects of the session tend to be easier to handle.
 If a standard approach exists, which is not really the case, start with a single light and keep it simple. Place a light directly in front and slightly above the model which is angled a little downwards. Position a reflector in front of the model and angled back to direct light up from the main source in to the model's face. This fills shadows with a suitably reduced intensity. This set-up also produces good catchlights in the eyes.
Given this starting point the photographer can then begin moving the main light higher or to one side of the camera-to-model line. Observe the shadows under the nose and chin and note how far they extend and the degree of fill. Take the light higher and the catchlights will disappear from the eyes and the shadow of the nose will extend down across the lips. The intensity of illumination also starts to change, the model's head receiving more light than her shoulders. Angling the light down at a greater angle usually helps.
With more directional light look for the most flattering jaw line, cheek shape and shadows. Try lighting the model from one side and then the other to see which works the best. White polystyrene foam reflectors can be used to add light where required, and black-painted absorbers can be used to take light away. A light directed from behind and to one side can be used to add light to the hair. With any secondary light be careful not to create crossed shadows. Always remember the location of the main light and the position of the camera relative to the model.
Start simple and never be afraid to experiment. There are no lighting rules - only good and not-so-good results!


