 |
| Public domain image by rolve |
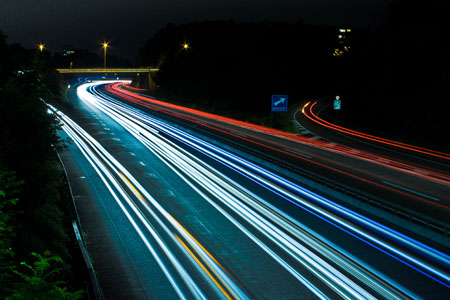
Traffic trails make interesting low-light photographic subjects because they add a feeling of speed and activity to otherwise static scenes. Choose a raised location if at all possible, from which a busy curving road or motorway can be viewed without hazard or disturbance. Bridges, flyovers and high buildings are obvious advantageous locations. The overall scene should be as attractive as possible because the trails of light, in themselves, do not necessarily make a strong composition. An ideal location would present a clear view of a beautifully curved road, or several of them, leading between or to some other illuminated object or building.
Set up a tripod and set the lens aperture to f/11, f/16 or f/22. The shutter should be set to "B" to allow manual control of the exposure period, and a remote release must be used to avoid camera movement. The duration of the exposure can be varied according to circumstances, but should normally exceed about 30 seconds to ensure that plenty of traffic trails are recorded. Longer exposures are possible in dark conditions but illuminated building or objects included in the frame should be correctly exposed. This means taking spot meter readings and controlling the shutter speed accordingly.
The best results are arguably obtained when there is still an element of colour left in the sky. These conditions tend to produce more attractive images than a completely black sky. Choosing a time of year when rush-hour traffic coincides with the last vestiges of daylight may therefore be advantageous.


